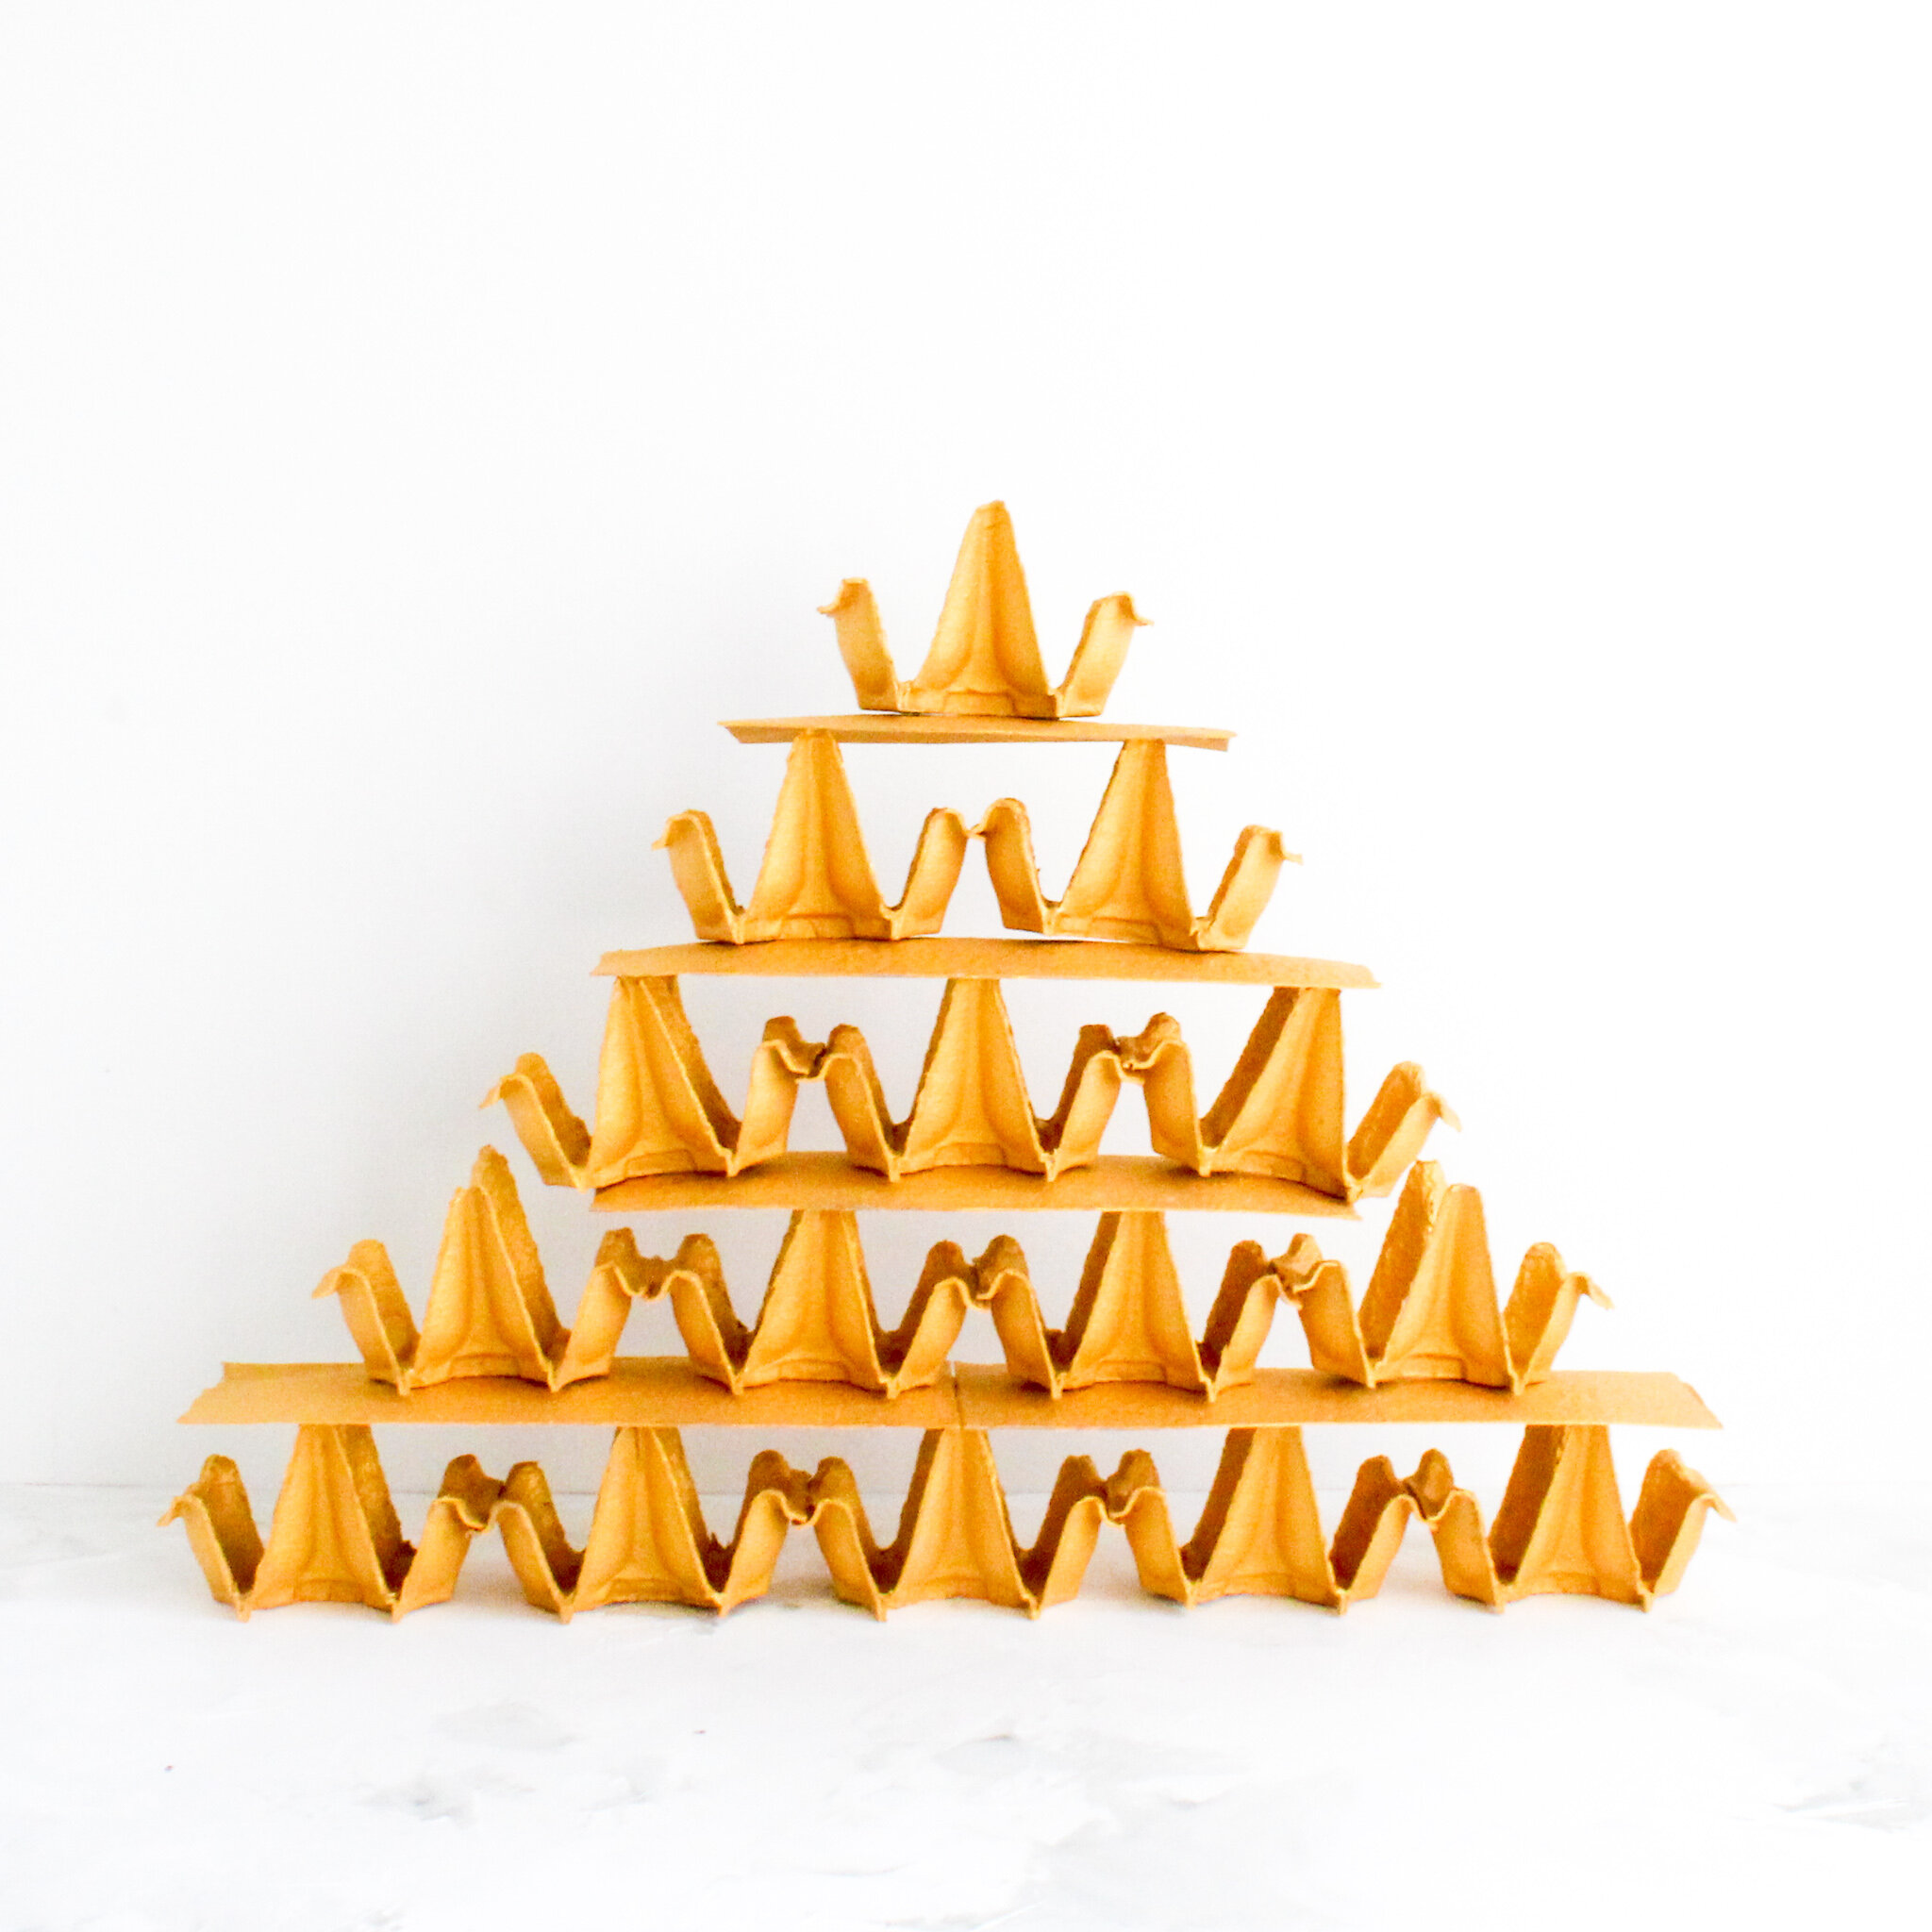
EGG CARTON PYRAMID
In telling the Passover story, we say that WE were slaves in Egypt — WE, not THEY. When we teach our children to internalize this shared experience of oppression to freedom, we are also teaching them empathy. We are teaching them to have awareness of the oppression, inequality, and tragedy that still exists in the world today. We are teaching them that they have a responsibility to repair the world in any way they can. Building an Egg Carton Pyramid is of course very fun, and your kiddos will surely love it! But in the process, you can also have an age-appropriate conversation that helps them begin to understand what it means to be a slave. What if you built these pyramids all day every day and didn’t have a chance to rest? What if each of these “bricks” weighed as much as you do, but you were expected to keep building and building, even if you were tired, and even if you were in pain? What if a leader led you and all the other slaves out of Egypt to freedom — how would you feel?
HERE’S WHAT YOU NEED:
-Egg cartons (quantity depends on what size you want the pyramid to be — I used five cartons)
-Scissors (I thought it was easier to cut the egg cartons with smaller scissors)
-Paint (I used Sargent Art Acrylic Metallic paint in Gold)
-Paintbrush
HERE’S WHAT YOU DO:
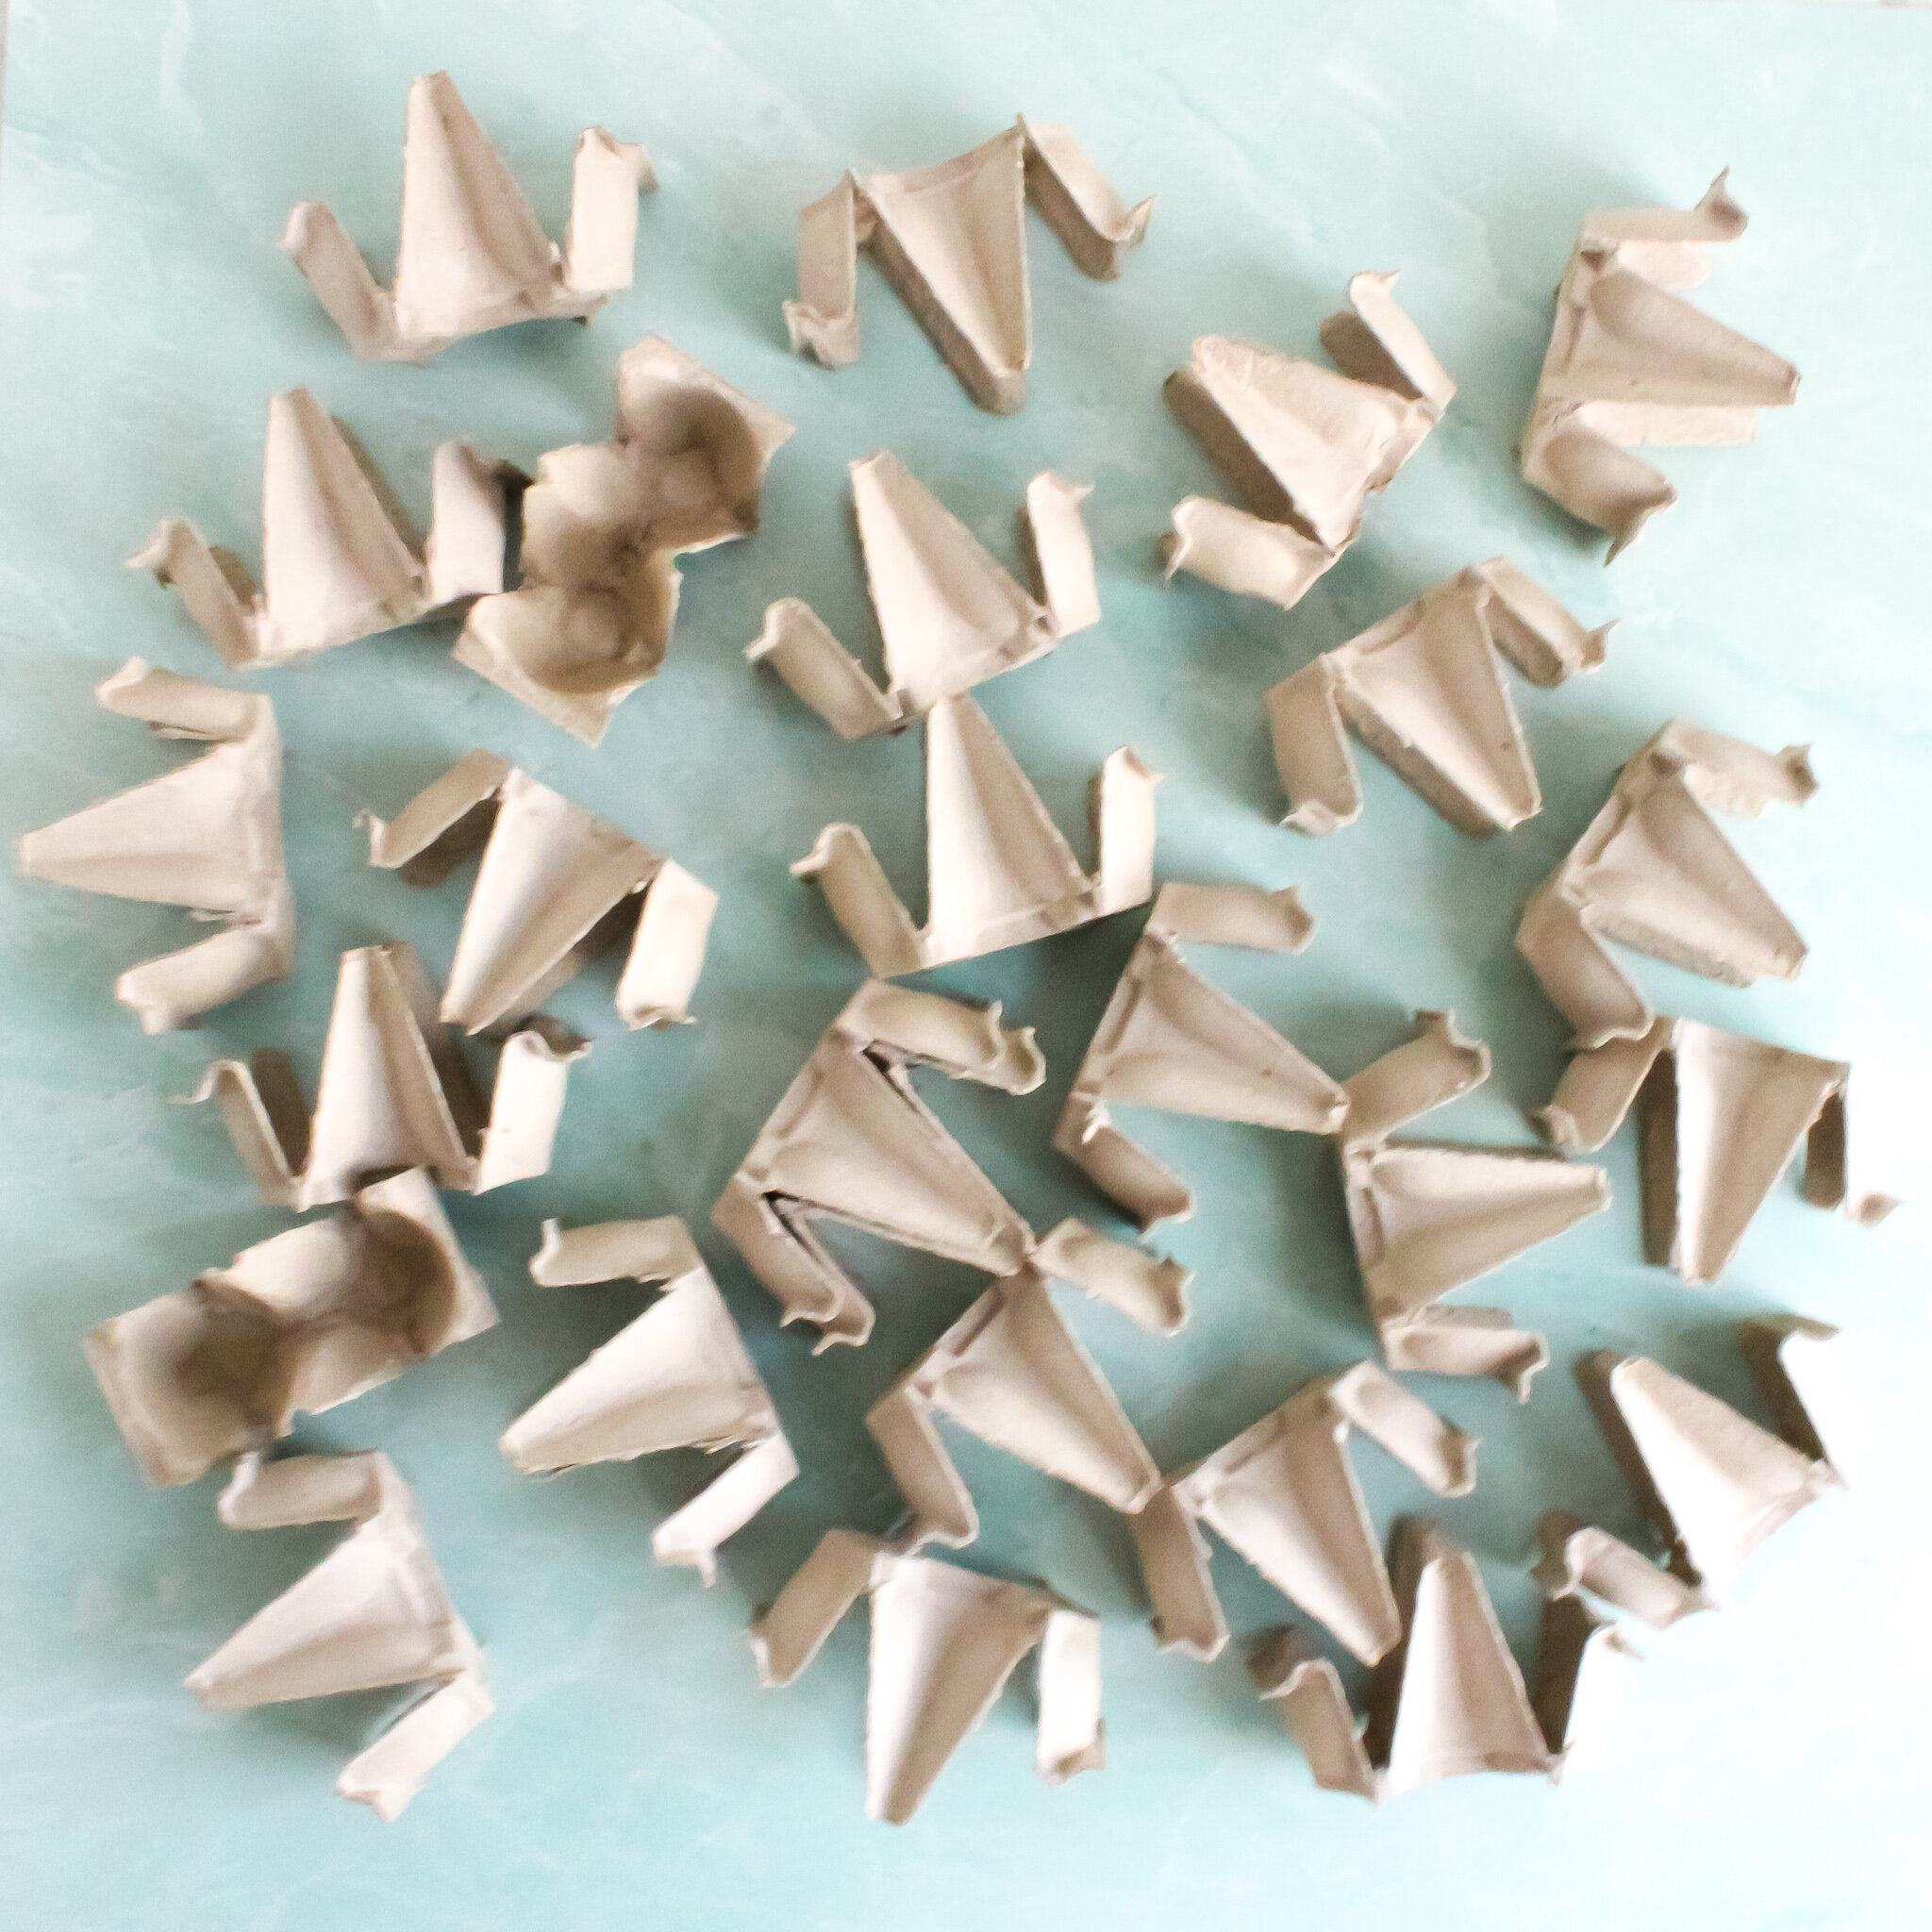
(1) Cut each egg carton into six groups of two connected cells. It was easier only to use the four sets of “interior” cells as the ones on the end did not sit evenly after they were cut. (2) Next, cut the tops of the egg cartons into a long rectangles (these pieces will provide stabilization in between each layer). (3) Note that for the pyramid in these photos, I used five egg cartons which gave me 15 groups of two connected cells (there were actually more than that for the five cartons, but I only used 15 groups of two) and also five rectangle stabilizing pieces. This allowed me to do a row of five cells, then four, then three, then two, then one with a stabilizing piece between each layer (there were two stabilizing pieces between row five and row four. (4) Paint all of your pieces and allow them to dry. (5) Once everything is dry, build your pyramid!